If you've read the Printing and Framing guide and don't have a local printer, below is a guide to using the print shop I use myself.
Getting a 70s Pop to print
Over on the main page is a tool that lets you generate 70s Pop Series one images.
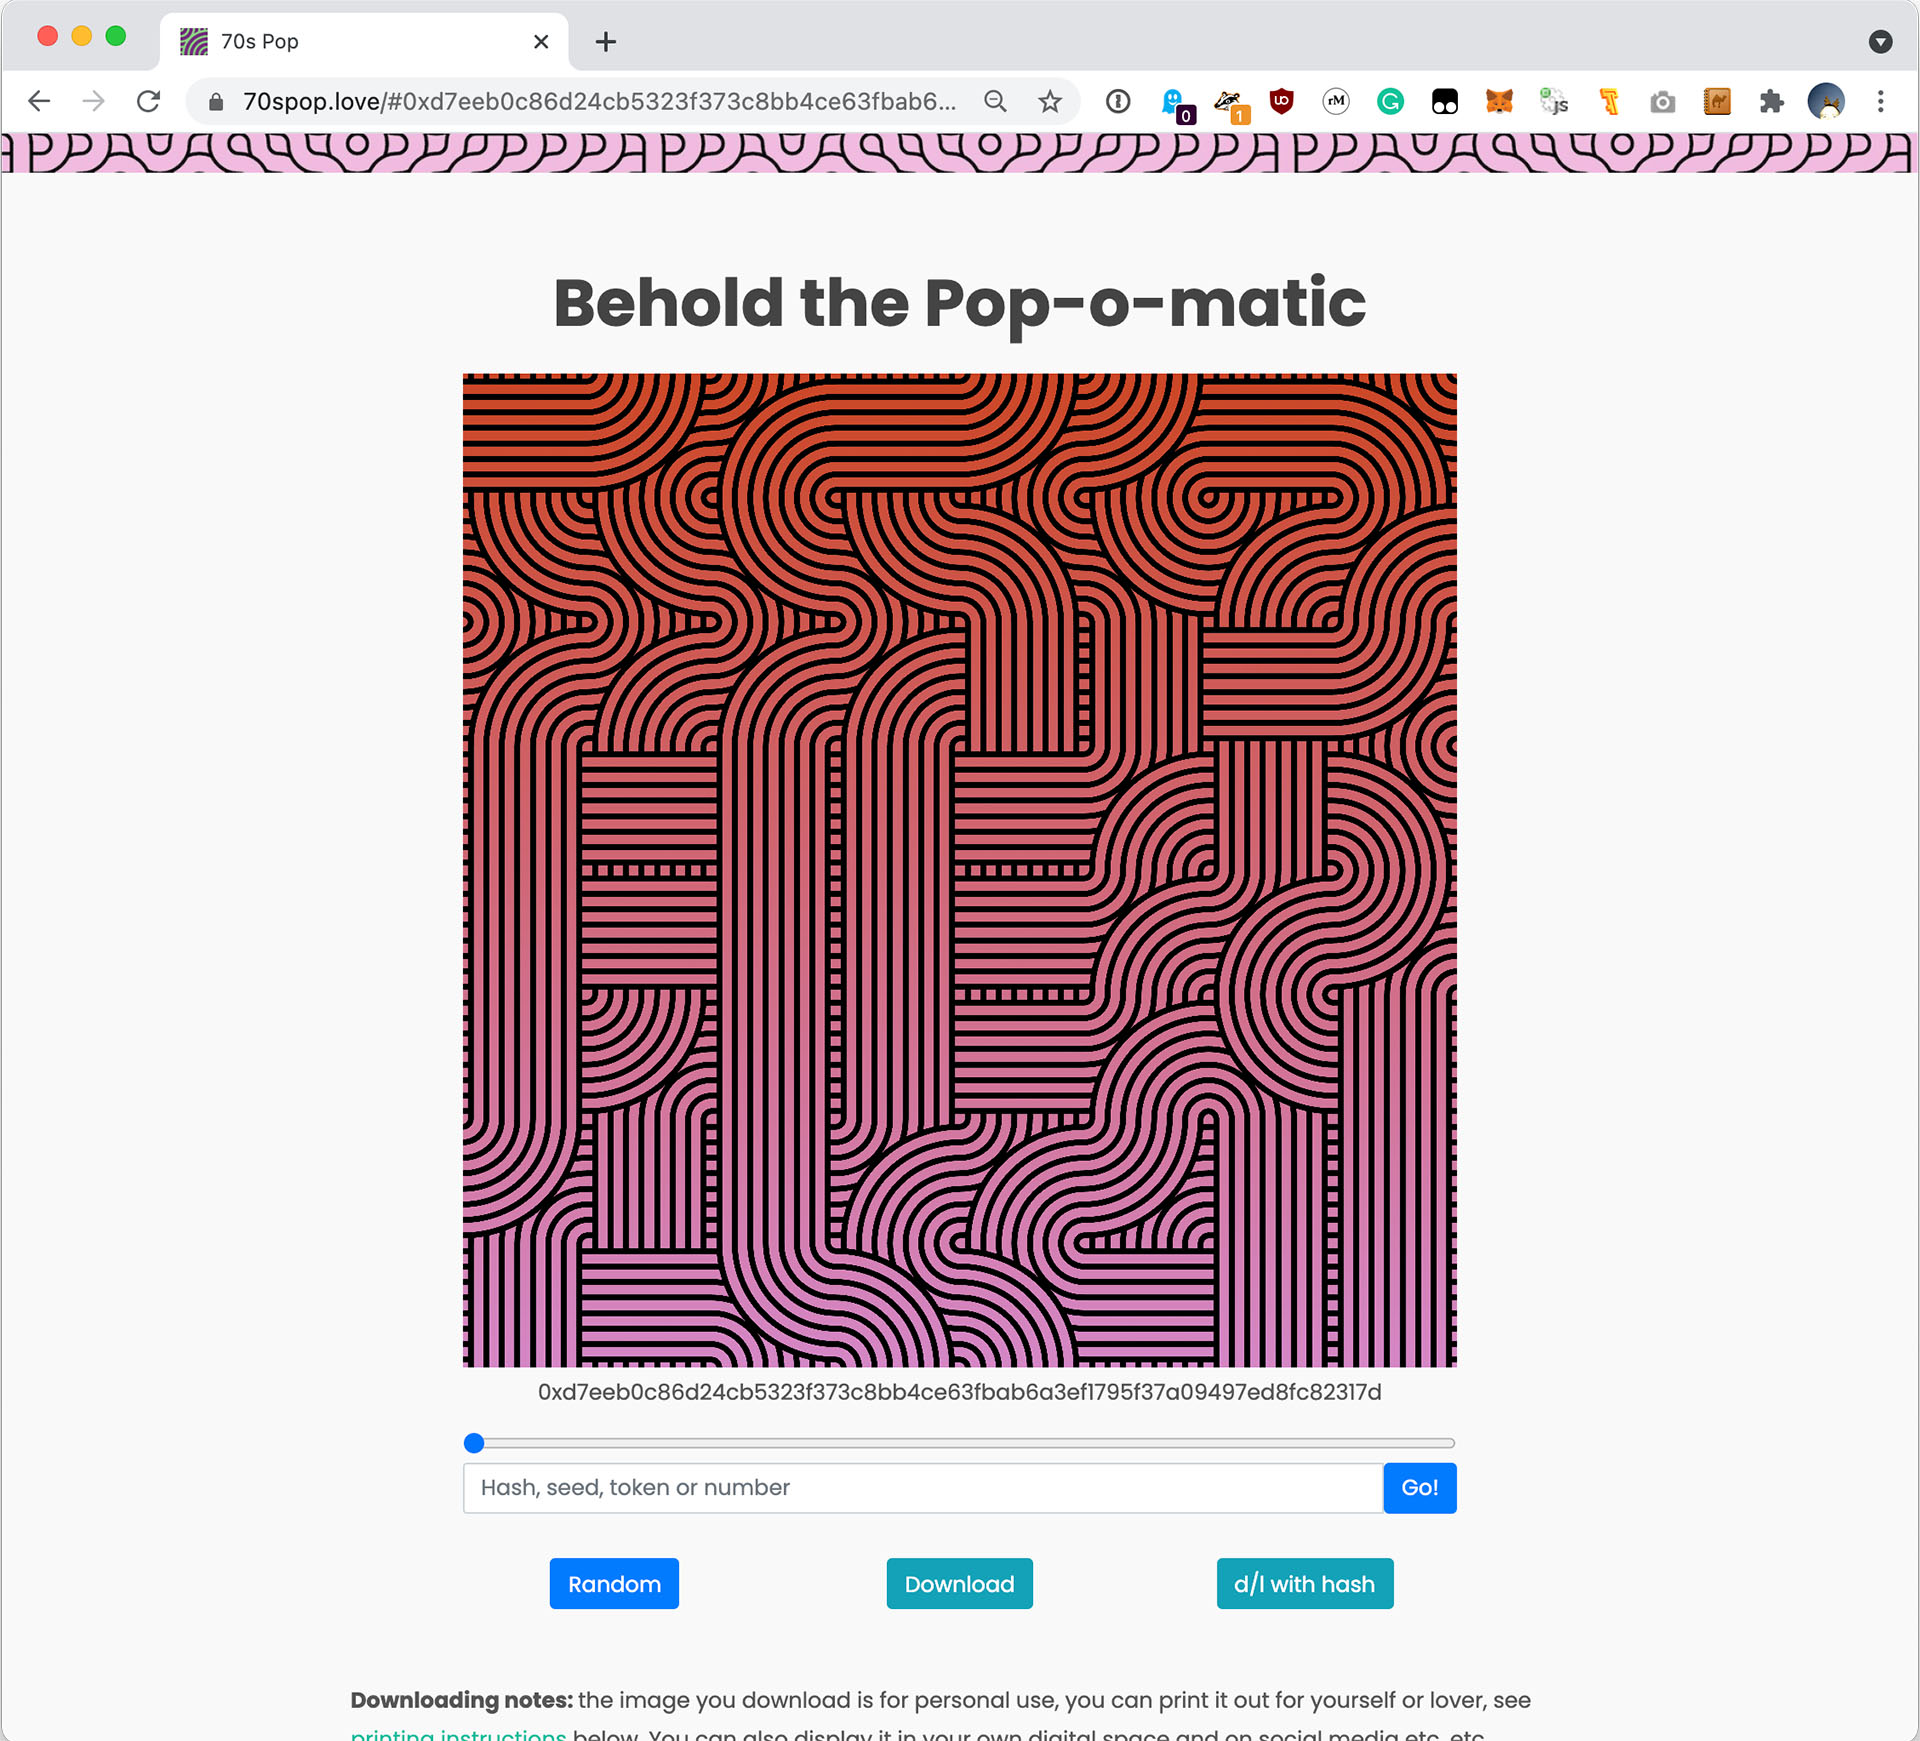
If you own one of the NFTs then you can type in the token number, either in the form of 123,
#123 or 46000123. You can also type in a token hash, which will get displayed
under the image, these are the ones that never got created 😆.
You can also type in other words or phrases, for example I particularly like nowis as the "seed". If in doubt you can
keep hitting the "Random" button.
Once you have one that you like, you hit the "Download" button, or "d/l with hash" if you want the hash, title and the artist's name (that's me!) along the bottom.
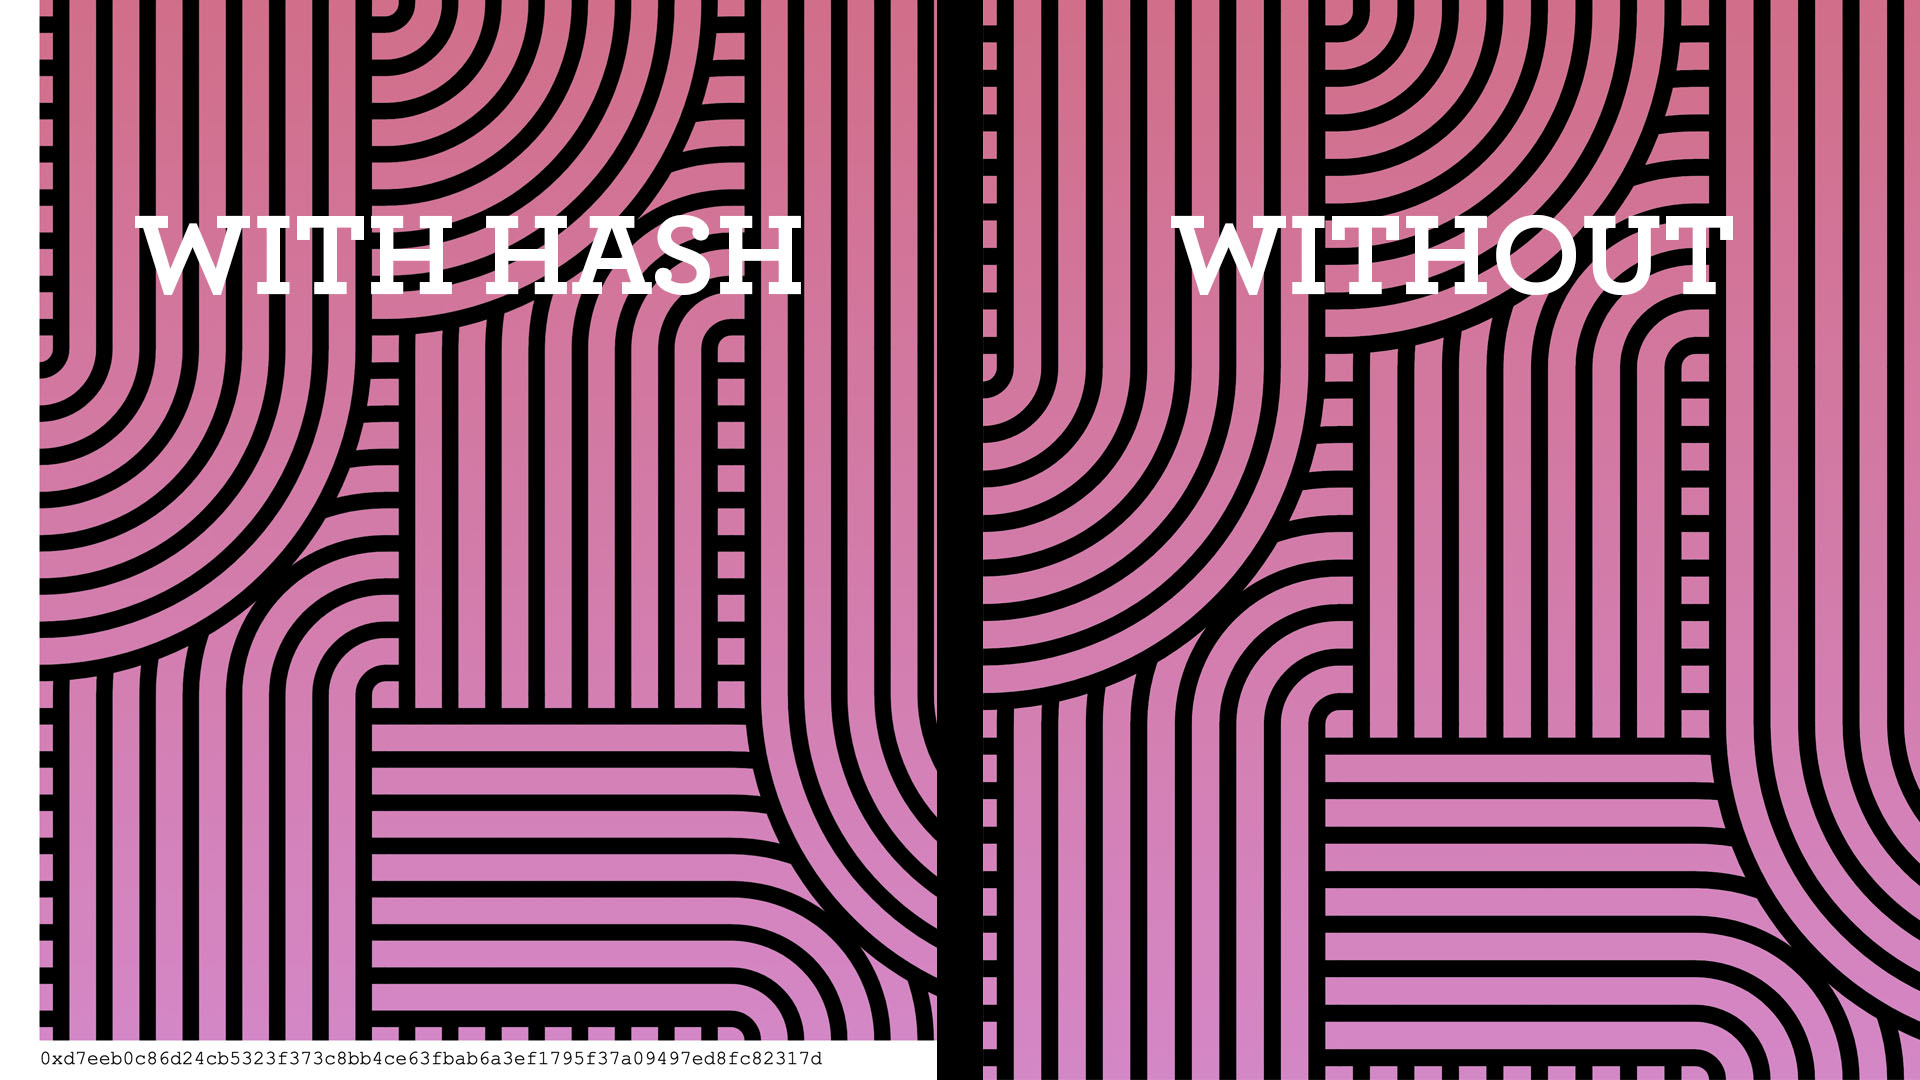
The image you download is a 7,200 by 7,200-pixel image, unless you are on mobile which is limited to 3,000 by 3,000-pixels. A 7,200x7,200 image can be easily printed upto 24 by 24-inches (61x61cm).
To read more about printing and margins read the Printing and Framing guide.
Once you have the image, which can also be any of the other Art Blocks' images (although the default size for those is 2,400 by 2,400-pixels, which you can print upto 8 by 8-inches), you can then use The Print Space to get it printed out and shipped anywhere in the world.
Below is a step-by-step guide to doing that.
The Print Space.
The Print Space and CreativeHub is the same place. The first will tell you all about printing while the second lets you do it.
You can see the papers The Print Space uses from the "Printing" drop down, I suggest using the Giclée paper.
To start your order click the "Order" or "Order Now" button. You will end up at a screen that looks like this...
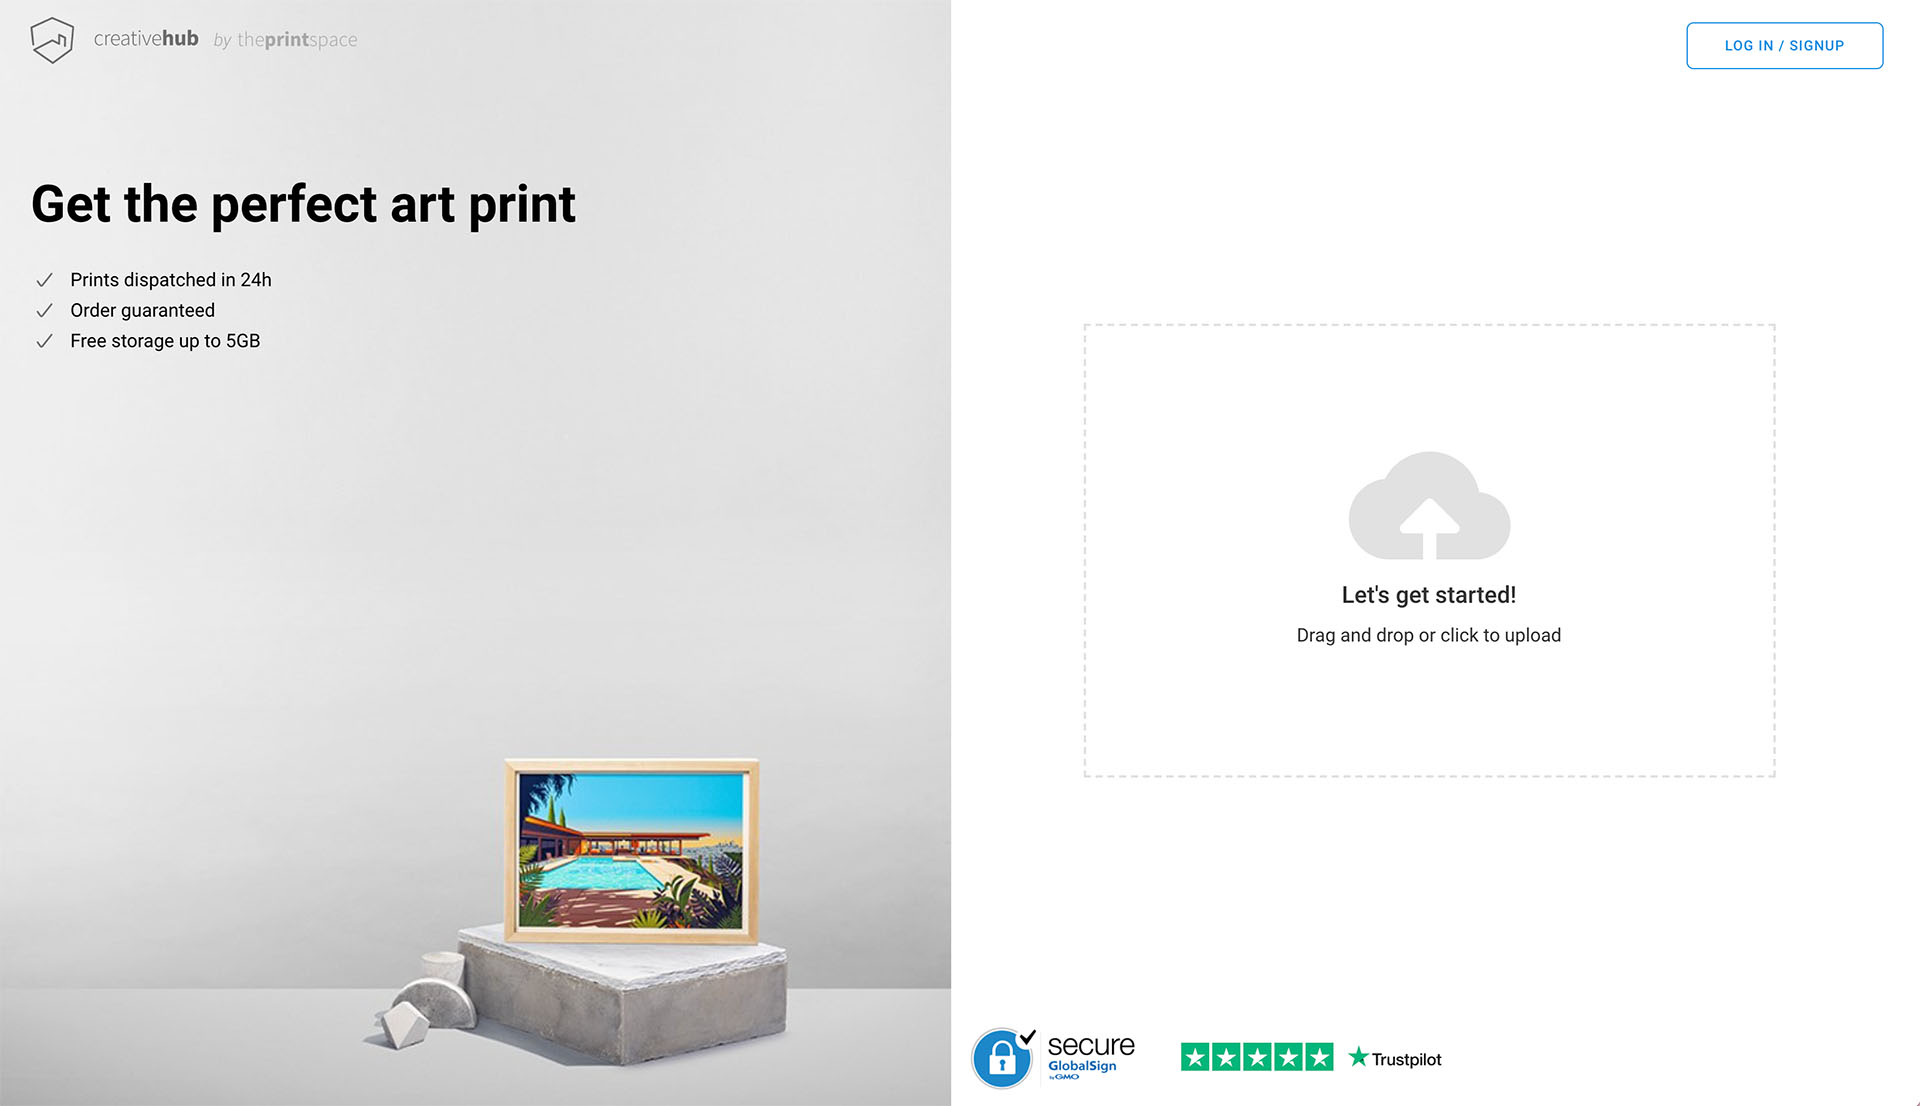
Drag your image into the drag and drop zone and you can start.
You'll see a page like this, where the image will look entertainingly large...
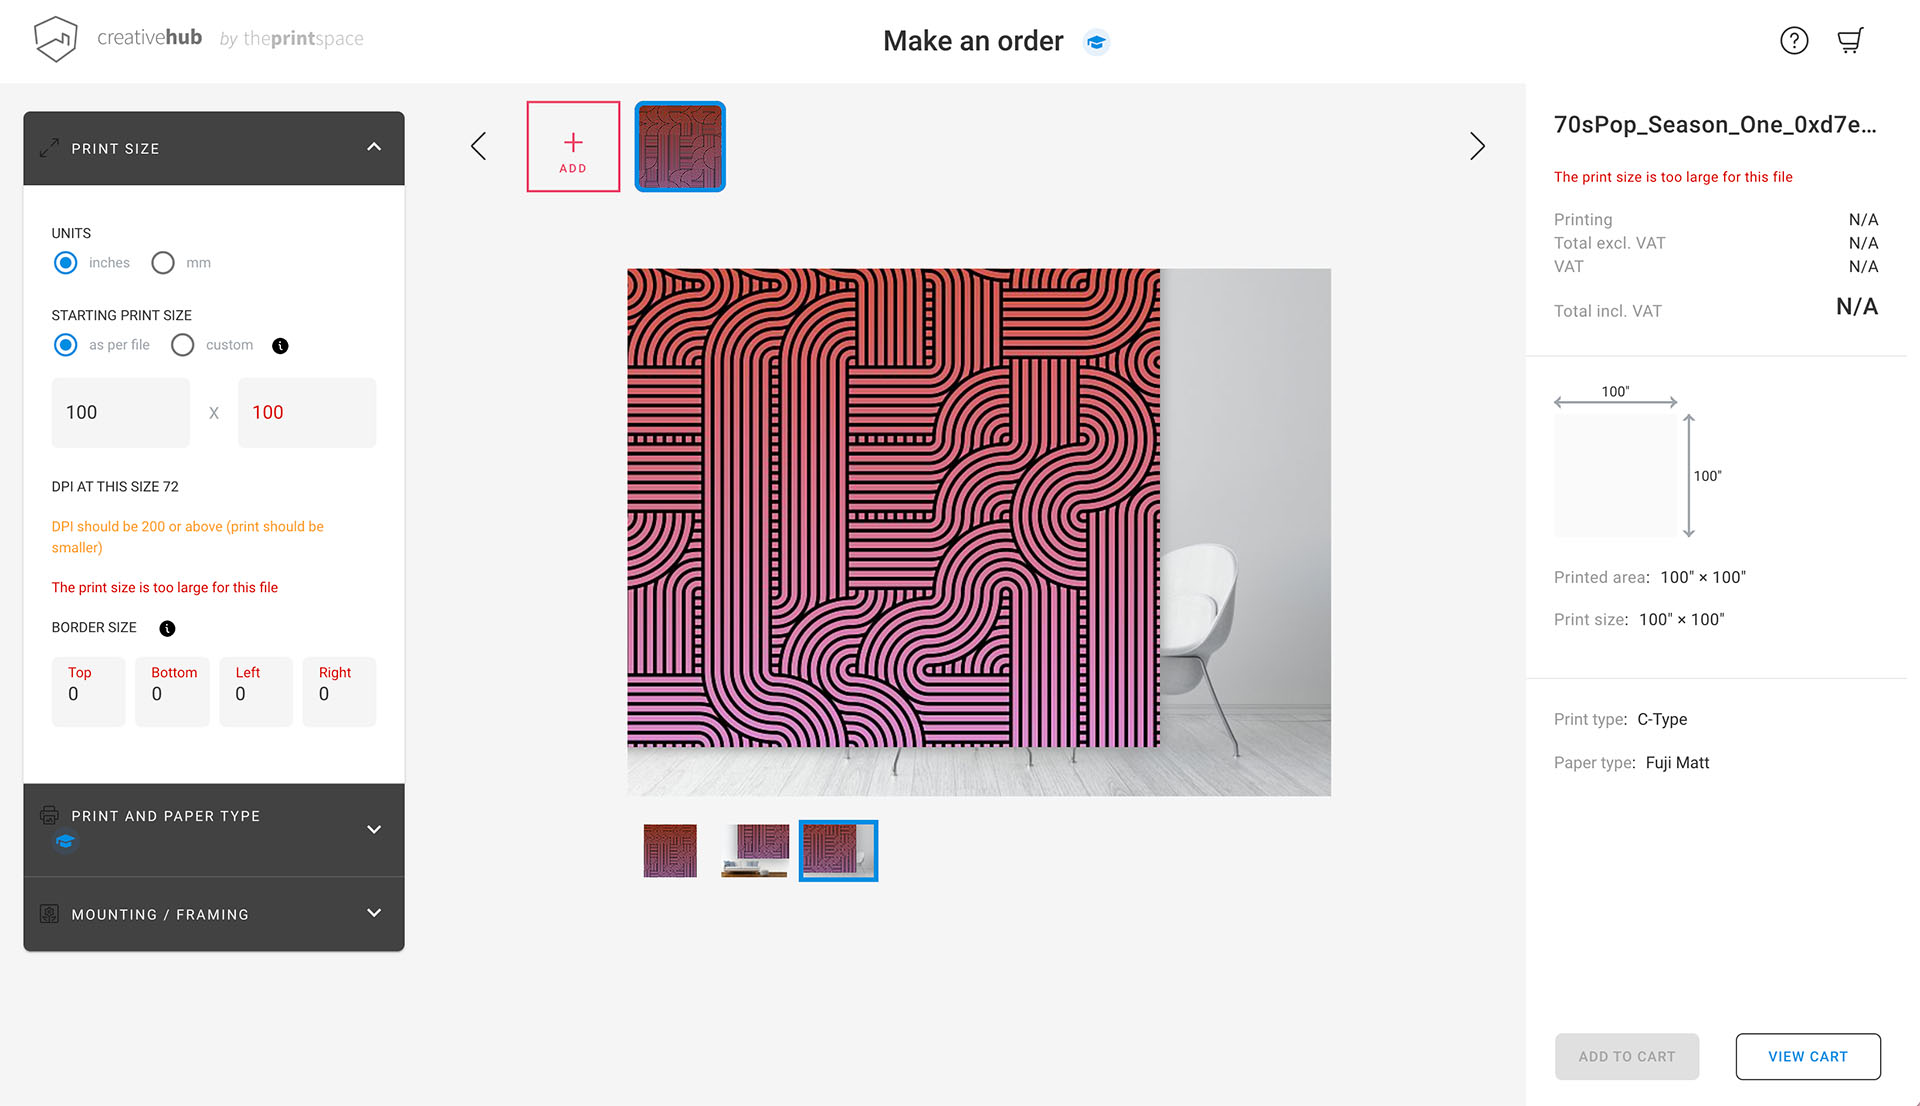
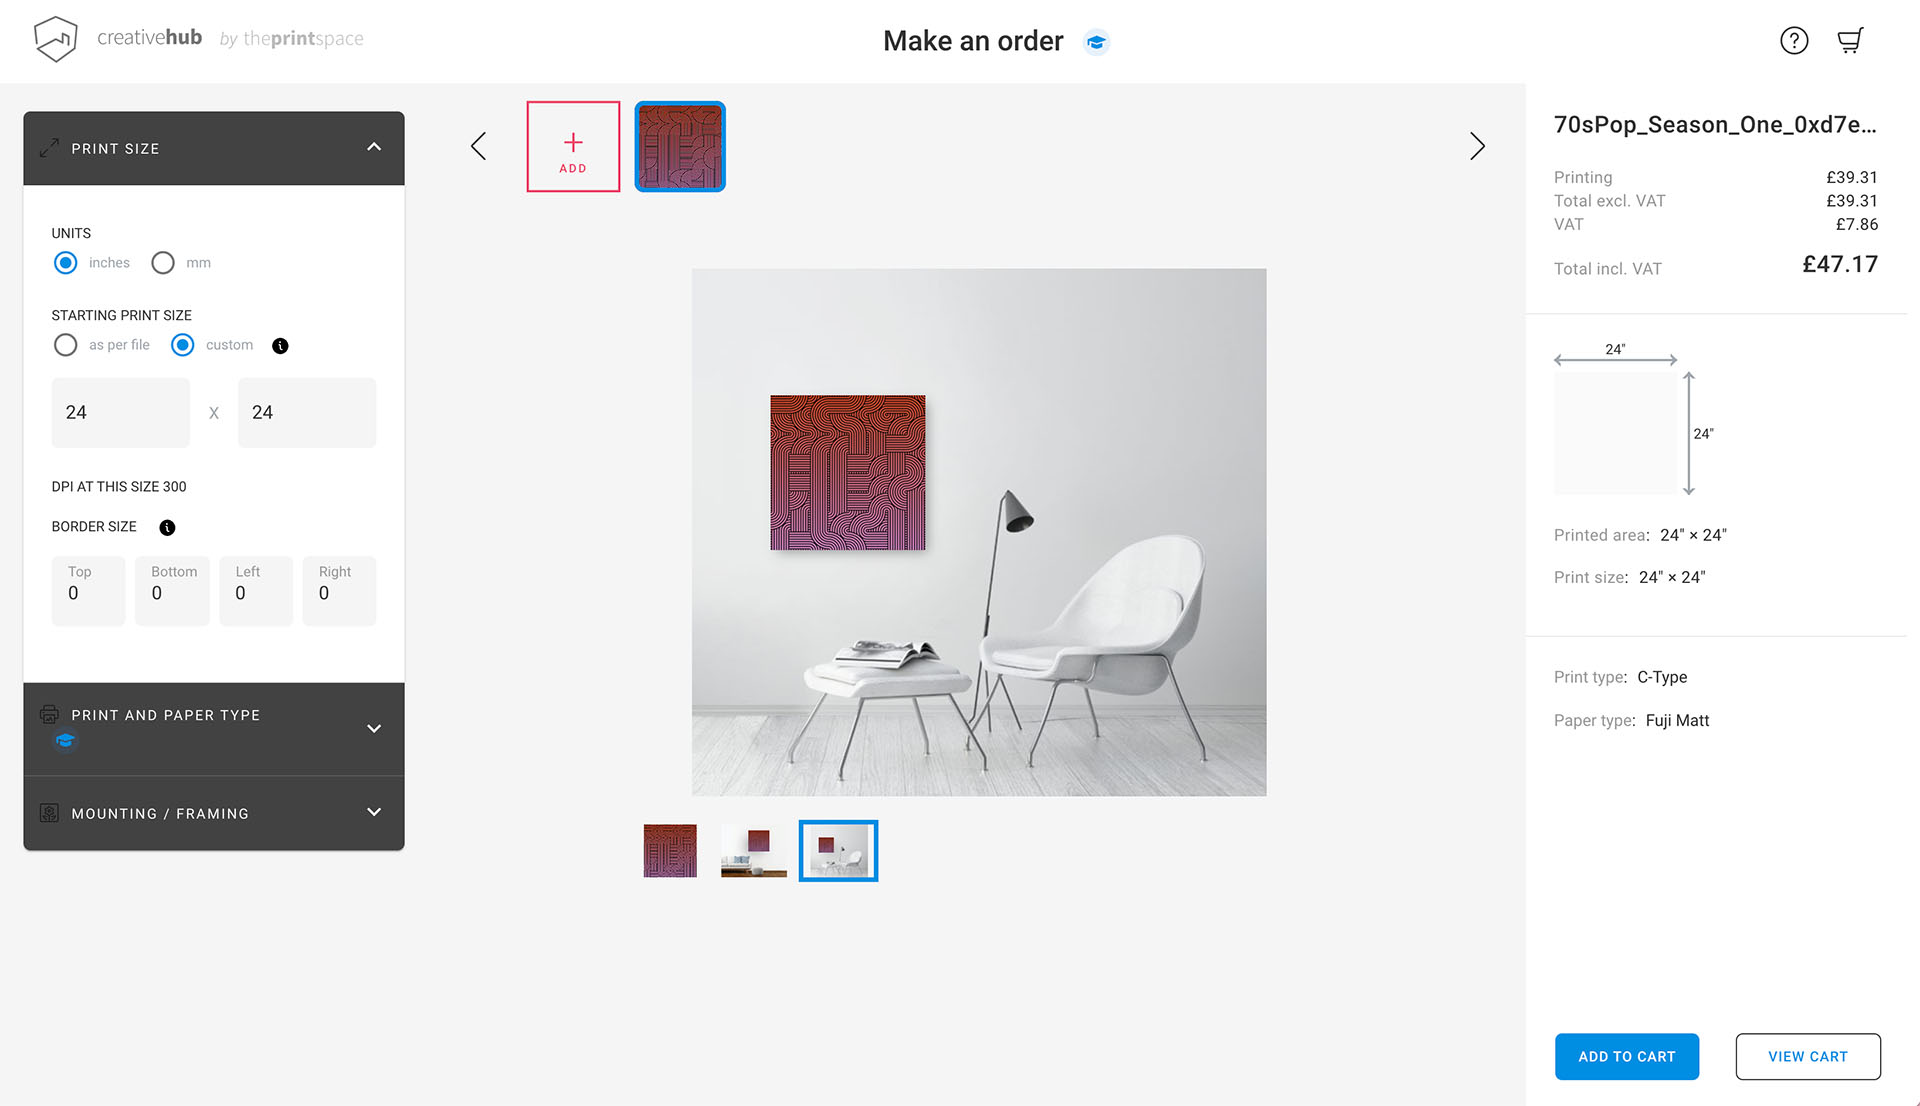
Now you need to plug in the print and margin sizes, if you need more help with picking sizes read the Printing and Framing guide. The website takes the print size and then adds the margins. Here is a 24 by 24-inch print...
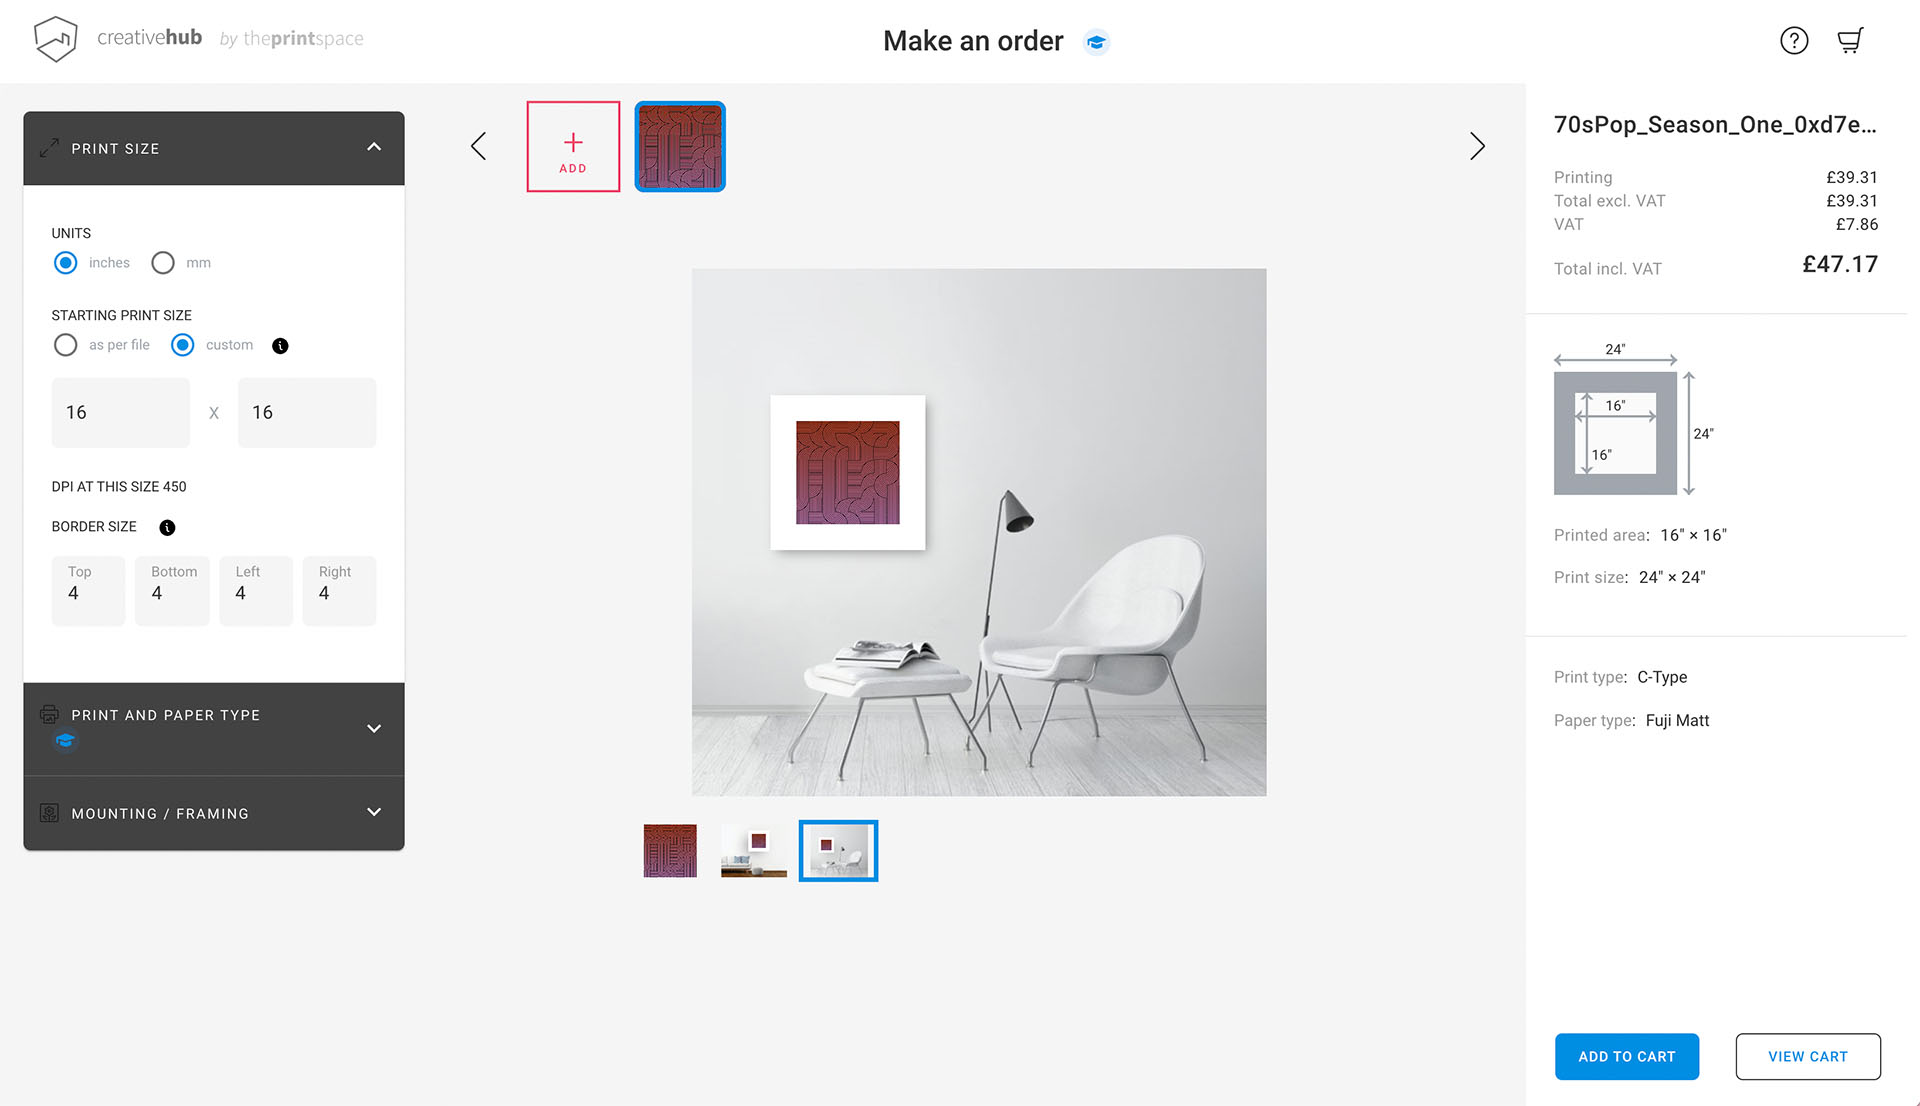
And here we are again with a smaller print area but 4-inch margins, notice the "Printed area" and "Print size" over on the right hand side. This is where you double check your measurements.
The next step is to select your paper, click the "Print and Paper Type" section, change it to Giclée and then choose a paper.
I recommend either the Canson Aquarelle Rag, Hahnemüle Pearl or Hahnemühle Photorag.
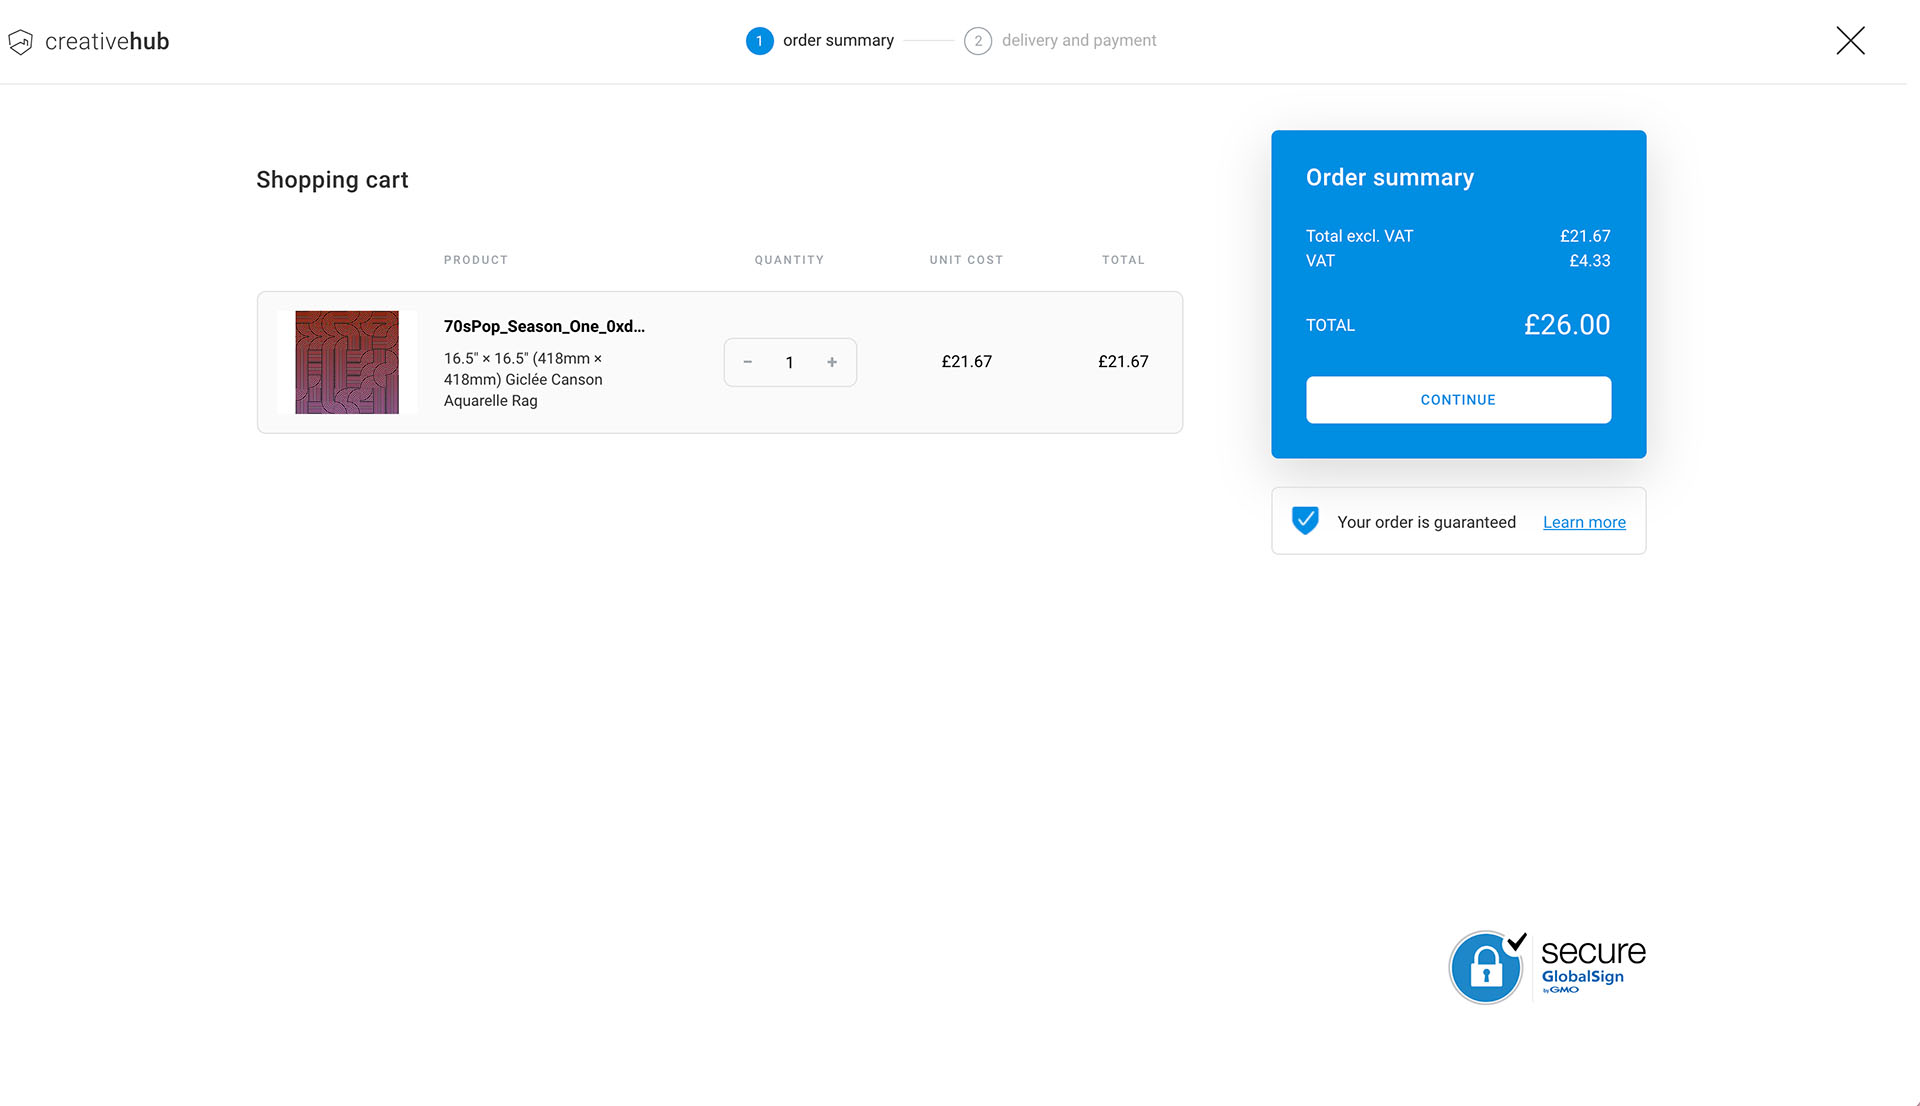
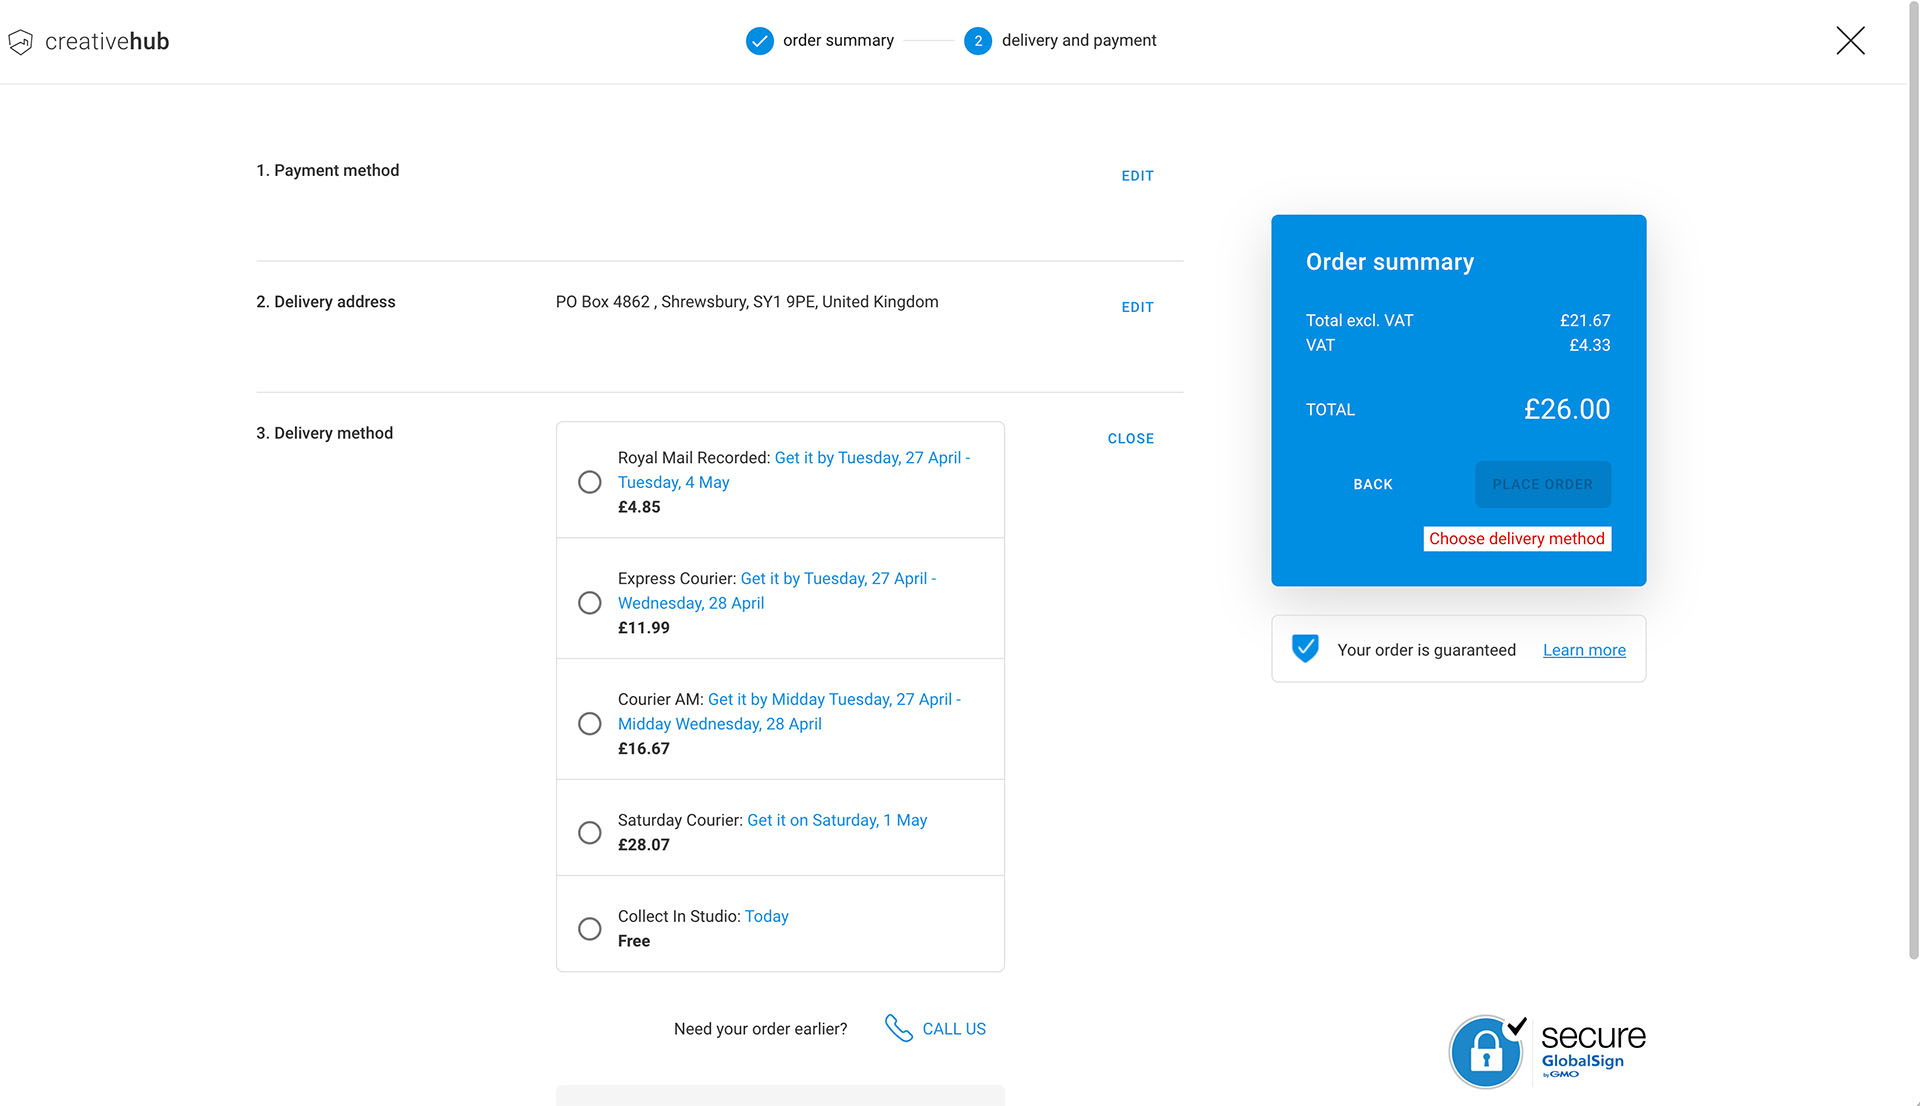
After that you go through the usual account set-up, shipping and payment steps. At this point if you use
the code 91ED3ZO you'll get 50% off your first order.
Then wait a few days and you'll have your lovely new print you can get framed.

Next step
If you do get a 70s Pop image printed, or any of the other Art Blocks project I'd love to see them, you can tweet then at me at @revdancatt, or Instagram.com/revdancatt.